Bottom line
Start with a light modular layout, organize it by access, and secure every container. Add a cover or permanent system only when repeated trips reveal a specific weather, security, or access problem.
Define the storage job first
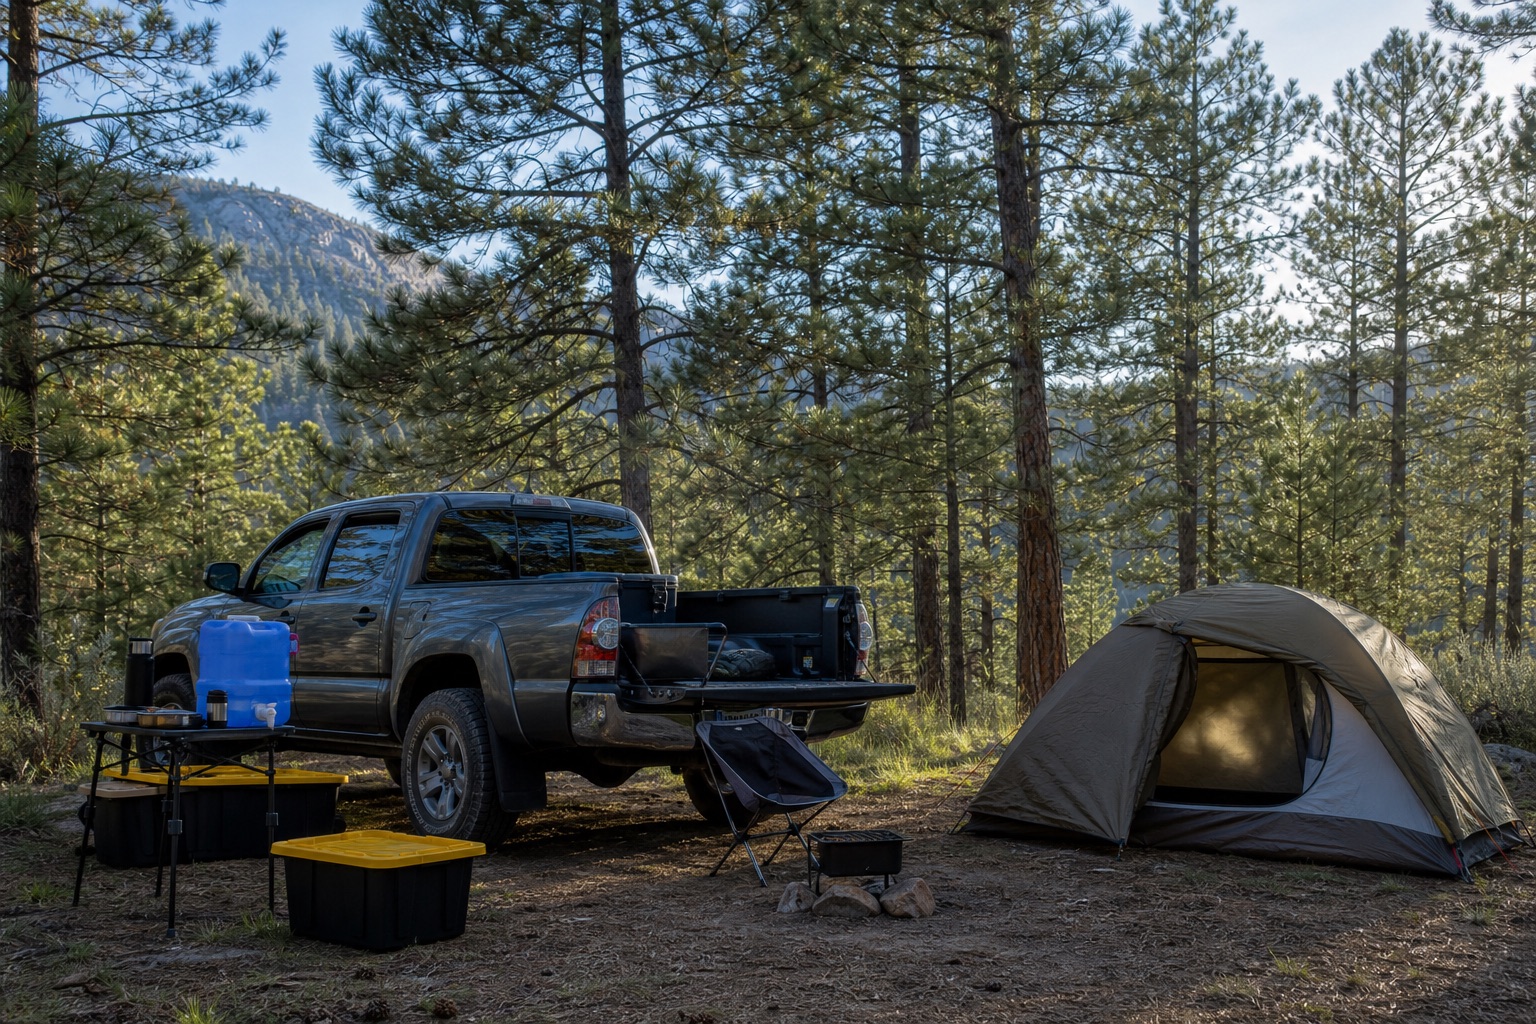
Midsize trucks make storage choices harder because every box competes with passengers, water, food, sleep gear, and the truck’s weekday duties. Begin by listing what must stay in the vehicle, what only travels on camping weekends, and what needs to come out at every stop. That simple inventory prevents a permanent build from solving the wrong problem.
Judge any storage idea with five questions. Can you reach the important item quickly, can you protect it from weather and casual theft, can you secure it for travel, how much useful payload does the system consume, and can you remove it when the truck needs to haul something else. A good answer for a daily driver may look different from a dedicated camping truck.
- Keep emergency, tire, and first aid equipment available without unloading camp.
- Separate clean sleep gear from fuel, tools, wet recovery equipment, and trash.
- Measure the bed, wheel well space, cover clearance, and tailgate opening before choosing containers.
Start with modular bins and soft bags
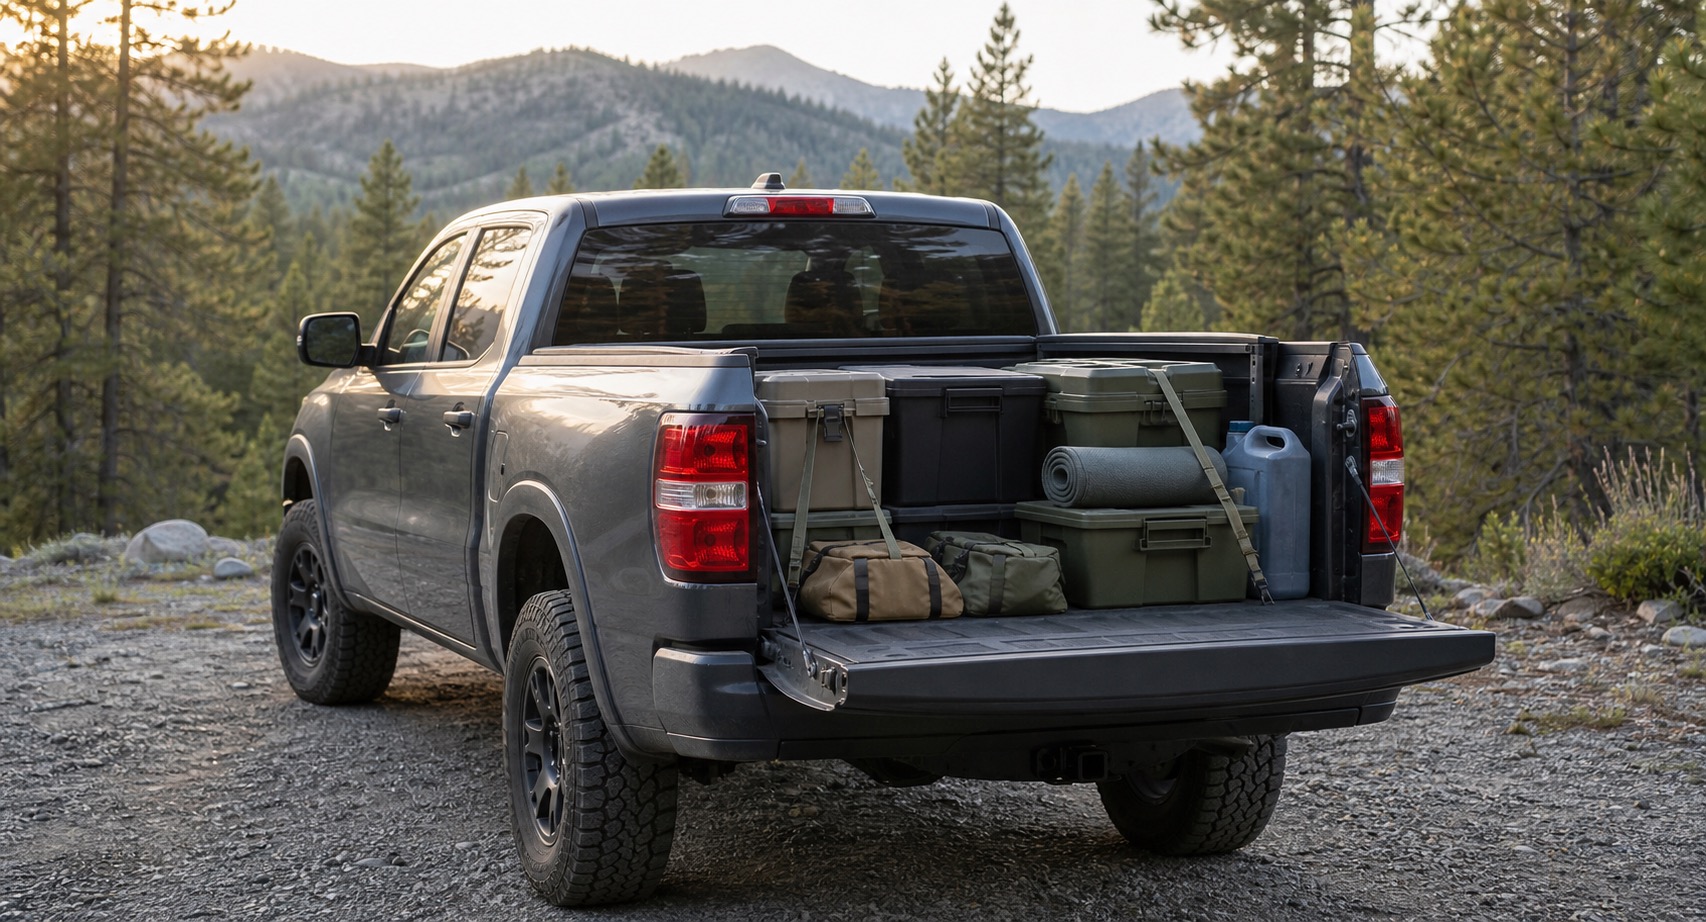
Rigid bins are the useful default for kitchen equipment, dry food, tools, and items that benefit from stacking. They are easy to label and move between the garage and truck. Their weakness is wasted space around curved gear and the temptation to buy bins so large that one person cannot lift them comfortably.
Soft bags fit clothing, bedding, and irregular spaces more efficiently. They are lighter and easier to carry into a tent, but they offer less crush protection and can become a pile if every bag looks alike. Combine a few moderate bins with distinct soft bags instead of forcing every item into one container style.
- Choose smaller containers for dense equipment and larger bags for light bulky items.
- Skip open crates for anything that must stay clean or dry.
- Avoid a single giant box that blocks access to everything behind it.
Create access zones around the trip
Pack by the moment an item is needed, not by the store department where it was sold. The arrival zone near the tailgate can hold a headlamp, rain layer, camp shoes, and the first container needed to make dinner. The travel zone can hold snacks, water, navigation backups, and first aid where passengers can reach them safely while stopped.
Put camp only gear deeper in the bed, with the least used items farthest from the opening. Keep recovery and tire equipment in a dedicated location that does not disappear under bedding. If the truck has a short bed, vertical stacking can improve space, but only when the upper containers are light and the whole stack has a sound restraint plan.
- Tailgate zone for the first ten minutes at camp.
- Deep storage zone for sleep gear and later setup tasks.
- Dedicated safety zone that remains available when the bed is full.
Treat weather protection and security as separate choices
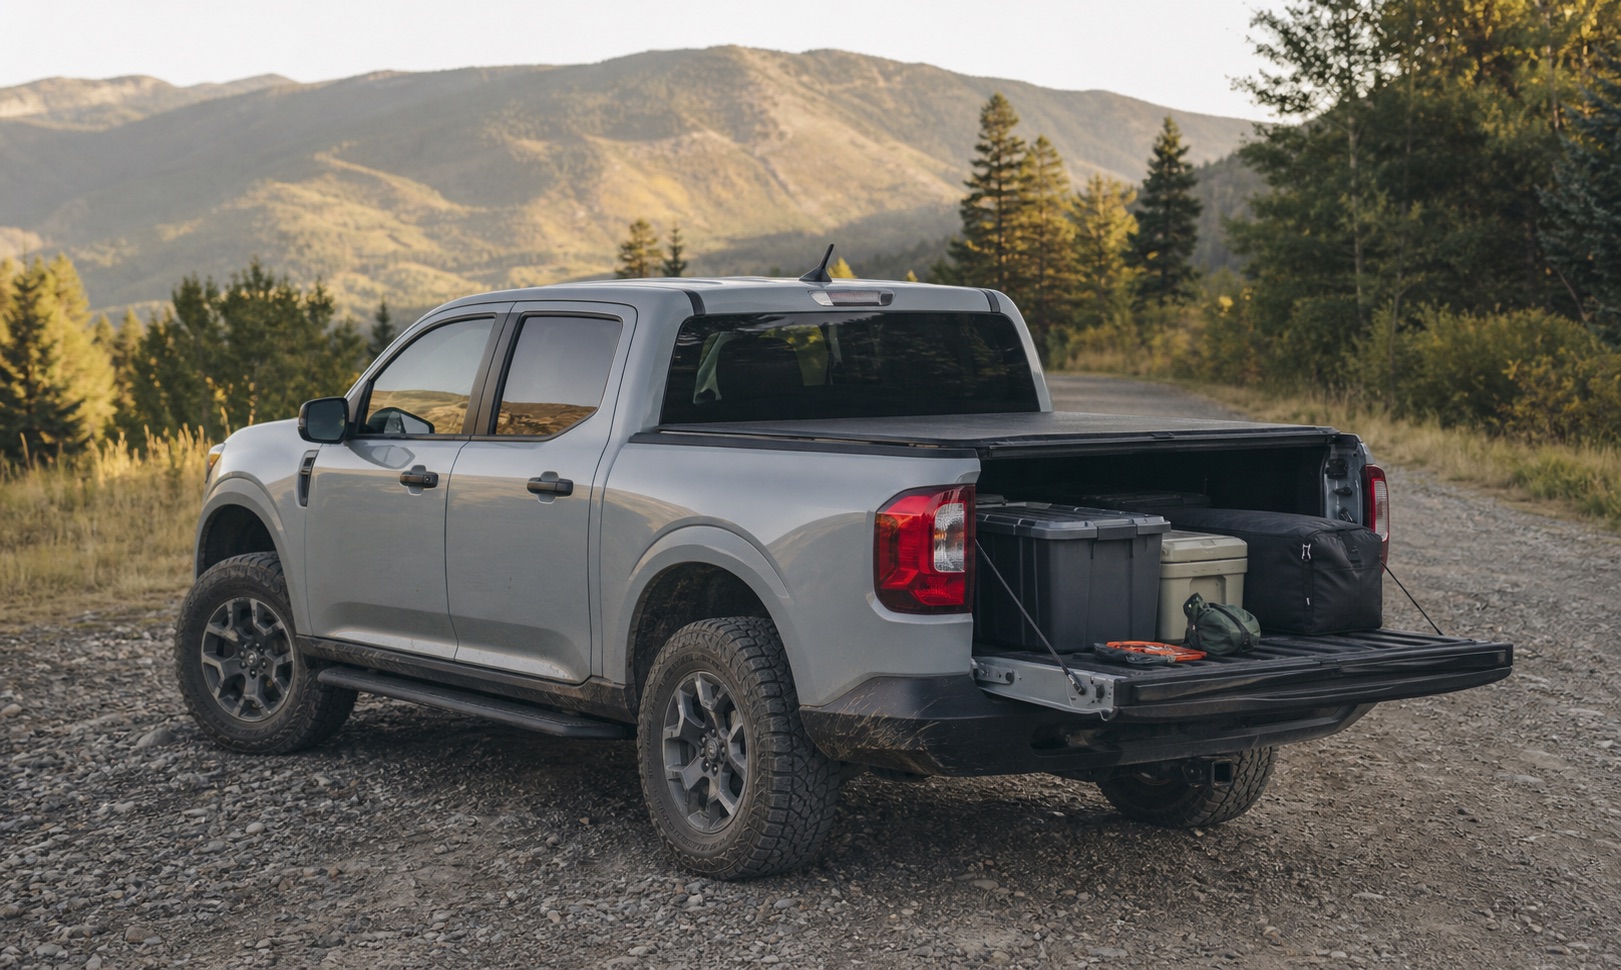
A lidded bin can handle dust and light weather without turning the whole bed into an enclosed system. A bed cover adds broad weather protection and hides gear from casual view, but it can reduce vertical clearance and make tall items awkward. A hard topper creates more enclosed volume, though it adds weight, cost, and a larger object to store if removed.
None of these choices guarantees dry or secure cargo. Water can enter around seals, dust can move through bed gaps, and a hidden load can still be vulnerable. Keep sensitive items in their own protected containers, use locks only as one layer, and avoid leaving valuable electronics in the bed when a safer option exists. Camp food needs a separate plan because local wildlife rules may require a locker or another approved method.
- Use simple containers when weather exposure is occasional and low consequence.
- Consider a cover when concealment and frequent rain matter more than tall cargo.
- Skip a topper if the truck regularly carries motorcycles, furniture, or other tall loads.
Protect payload and restrain the load
Storage hardware counts as cargo before a single piece of camping gear goes into it. Read the payload statement on the truck and the current owner manual, then subtract passengers, accessories, storage, water, and trip equipment from the available capacity. The exact rating and approved tie down use vary by vehicle, configuration, and model year, so do not copy a number from another truck.
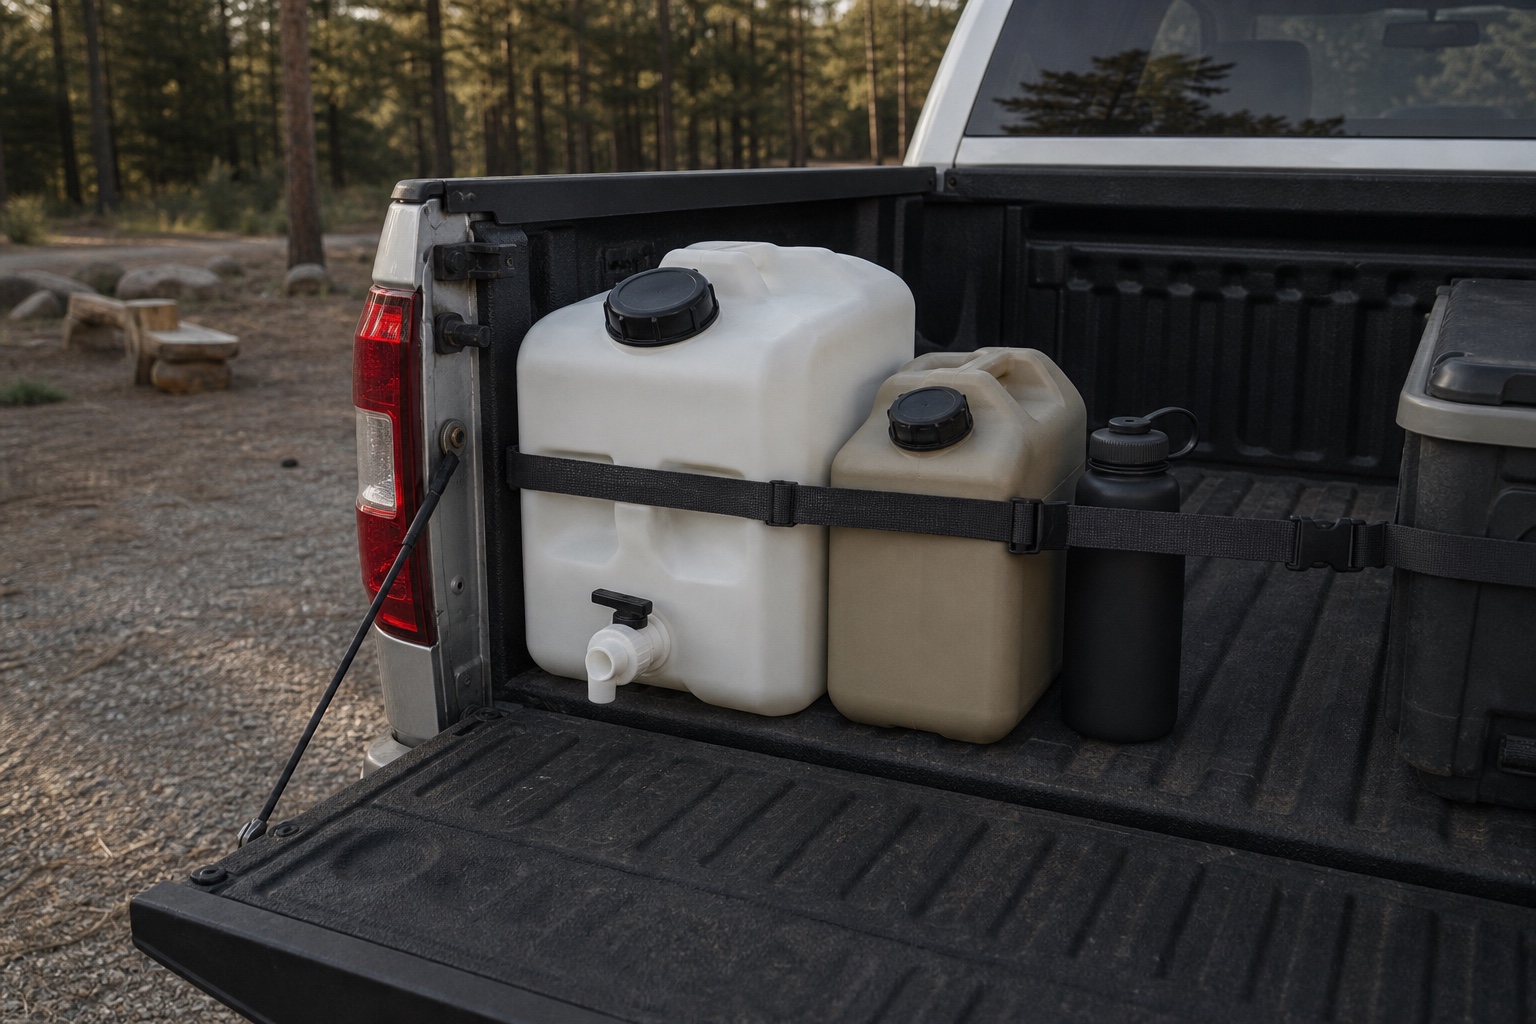
Every container needs restraint that addresses braking, turns, bumps, and an open tailgate. NHTSA recommends tying large objects directly to the vehicle or trailer, using suitable straps, rope, or netting, and checking the load again. Use only vehicle anchor points and hardware within their documented purpose and limits. Stop after a short drive to confirm that straps remain tight and nothing has shifted.
- Place dense items low and keep the load balanced side to side.
- Restrain the container itself, not only its loose lid.
- Inspect straps, anchors, and container handles before each trip.
Choose how permanent the build should be
A removable platform or a pair of fitted bins often fixes access without committing the truck to one layout. It suits renters, daily drivers, changing trip styles, and anyone still learning what they carry. The tradeoff is more setup time and less polished use of every corner.
Drawers or a fixed platform can make repeated packing fast and keep small equipment accessible under other cargo. They also consume payload, height, money, and flexibility even when empty. They make the strongest case after several trips repeat the same load and the same access problem. Skip a permanent system when the truck must frequently return to an open bed or when the proposed storage weighs almost as much as the gear it organizes.
- Stay modular when trip length and passenger count change often.
- Try a removable layout before drilling or wiring.
- Move toward a fixed system only when its daily convenience repays its constant weight and lost space.
Run a one weekend storage test
Lay every packed item beside the truck, group it by access zone, and weigh the complete travel load with passengers included. Photograph the first layout and write a simple packing map. During the trip, note every time one container blocks another, an item gets dirty, or a safety tool becomes hard to reach.
After returning, remove anything that was never used unless it has a clear safety role. Change one problem at a time. A smaller kitchen bin, a dedicated wet gear bag, or a better restraint route may solve more than a heavy drawer system. The goal is a truck that leaves easily, carries safely, and returns to weekday duty without a full day of unloading.
- Test access with the tailgate both open and closed.
- Check the load after the first rough road segment.
- Use two or three trips to confirm a repeated problem before buying a permanent solution.