Bottom line
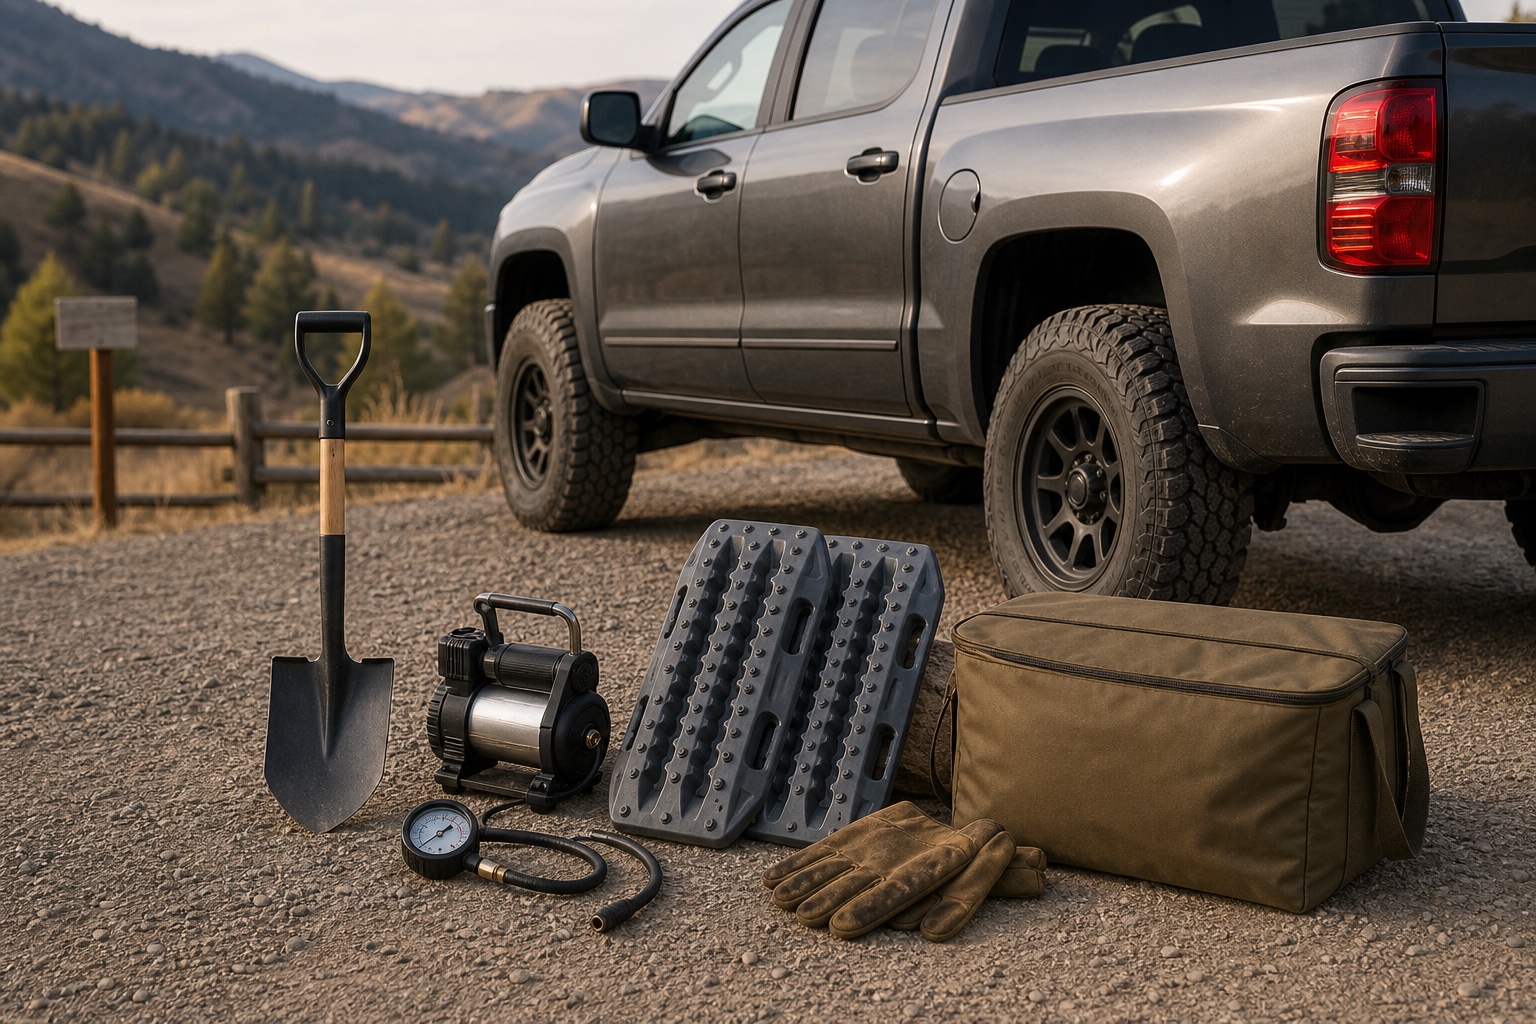
For most beginners, recovery readiness starts with maintained tires, a usable spare, pressure tools, simple traction gear, and a conservative route plan. High force recovery equipment belongs in the vehicle only after its compatibility, limits, and safe use are understood.
Build for the likely problem first
A beginner recovery kit should solve common, low complexity problems before it tries to cover every possible trail failure. For a normal weekend route, tire pressure trouble, a damaged tire, loose ground, a shallow rut, or a poor line choice are more useful planning targets than a dramatic vehicle extraction. This keeps the kit smaller and makes each item easier to inspect, reach, and understand.
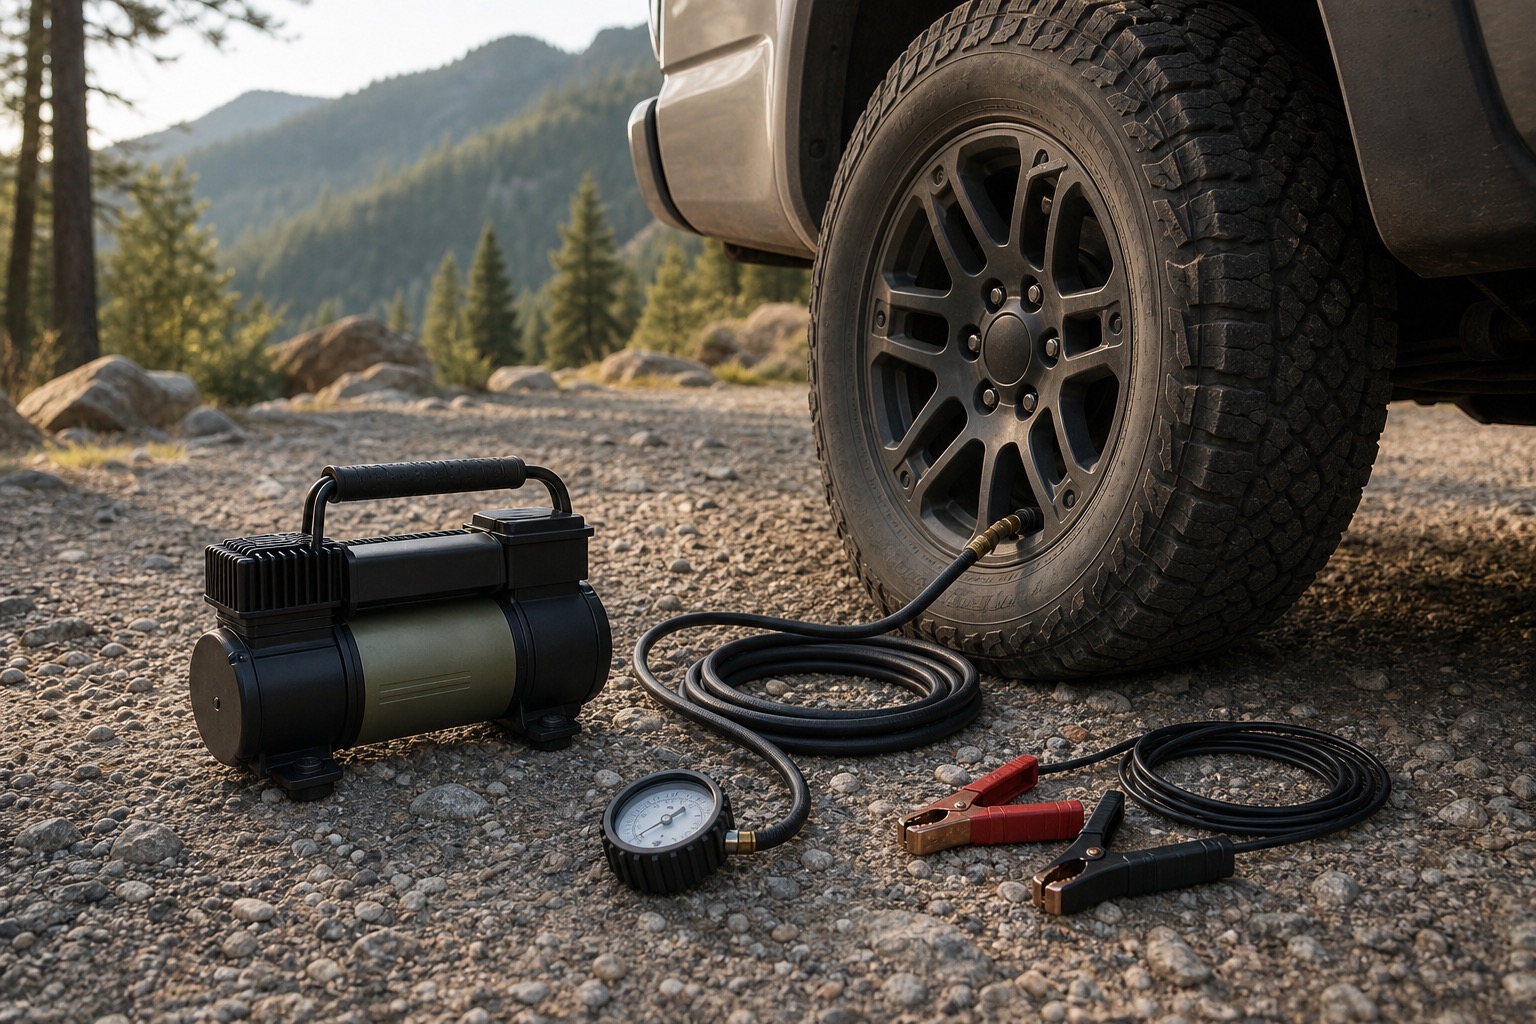
Start by pairing equipment with a decision. A gauge helps you confirm pressure. A compressor supports planned pressure changes and a return to the vehicle guidance. A shovel and traction boards may help with a modest traction problem when their instructions and the terrain allow it. If the situation calls for pulling forces, uncertain attachment points, or improvised rigging, the decision should shift from using more gear to stopping and seeking trained help.
- Cover tire pressure and a flat tire before advanced pulling equipment.
- Choose tools that fit the vehicle, tires, cargo space, and route.
- Keep a communication and turnaround plan for problems the kit cannot solve.
Start with tires and the spare
Tires are the first recovery system because they are already carrying the vehicle. NHTSA advises checking every tire, including the spare, at least monthly when cold. It also directs drivers to the vehicle label or owner manual for the correct pressure. A dashboard pressure warning is useful, but NHTSA says it does not replace regular checks with an accurate gauge.
For a weekend traveler, the practical kit begins with a readable gauge, a compressor that can serve the tire size, the factory tire changing equipment or a verified replacement, and a spare that is present and serviceable. A repair kit can be useful only when the traveler understands its stated limits and knows which damage it cannot address. Skip a repair only plan when the route, tire design, or your experience makes a usable spare the more dependable option.
- Confirm that the jack and lug tool fit the current wheel setup.
- Check the spare pressure and condition before the trip.
- Read the compressor power, duty, and tire size guidance before relying on it.
- Keep tire equipment accessible when the cargo area is full.
Add simple traction and digging tools
A full size or sturdy compact shovel earns space when loose soil, sand, snow, or a small berm is plausible. Traction boards can add a portable surface when the board maker allows the terrain and vehicle use. Gloves protect hands during ordinary digging and handling. These tools are attractive for beginners because they can address a limited traction problem without creating a loaded rope system.
That does not make them universal. Spinning tires, unstable ground, buried obstacles, deep water, traffic exposure, fire risk, or a vehicle that may slide can turn a simple problem into a dangerous one. Read the tool instructions and assess the surroundings before acting. Skip self recovery when the vehicle is unstable, the terrain is changing, people cannot remain clear, or you cannot explain what will happen next.
- Choose a shovel that can reach the areas you may need to clear.
- Store traction boards where dirt and sharp edges will not damage other gear.
- Treat gloves as handling protection, not permission to approach a moving vehicle.
Put high force recovery behind a training boundary
Winches, pulling straps, shackles, and vehicle attachment points form a system. Their safe use depends on the exact vehicle, mounted equipment, connection hardware, load, direction, terrain, and operator knowledge. A generic shopping list cannot verify that system. There is no universal recovery point or equipment rating that belongs on every truck or SUV.
WARN states that every winching situation can cause personal injury and tells users to read the specific product manual for complete operating details. Its guidance also calls for inspection before use and warns that towing with a winch rope can create shock loads that damage or break it. Those warnings are a useful boundary for beginners. Buy high force gear after hands on training and after the vehicle and equipment makers confirm the intended connections and limits. Owning a bag of rated parts does not make an unverified system safe.
- Do not copy an attachment point or rating from another vehicle.
- Do not treat a winch as a towing device.
- Replace damaged components according to their maker guidance.
- Choose training before adding a tool that stores or transfers large forces.
Spend by consequence and frequency
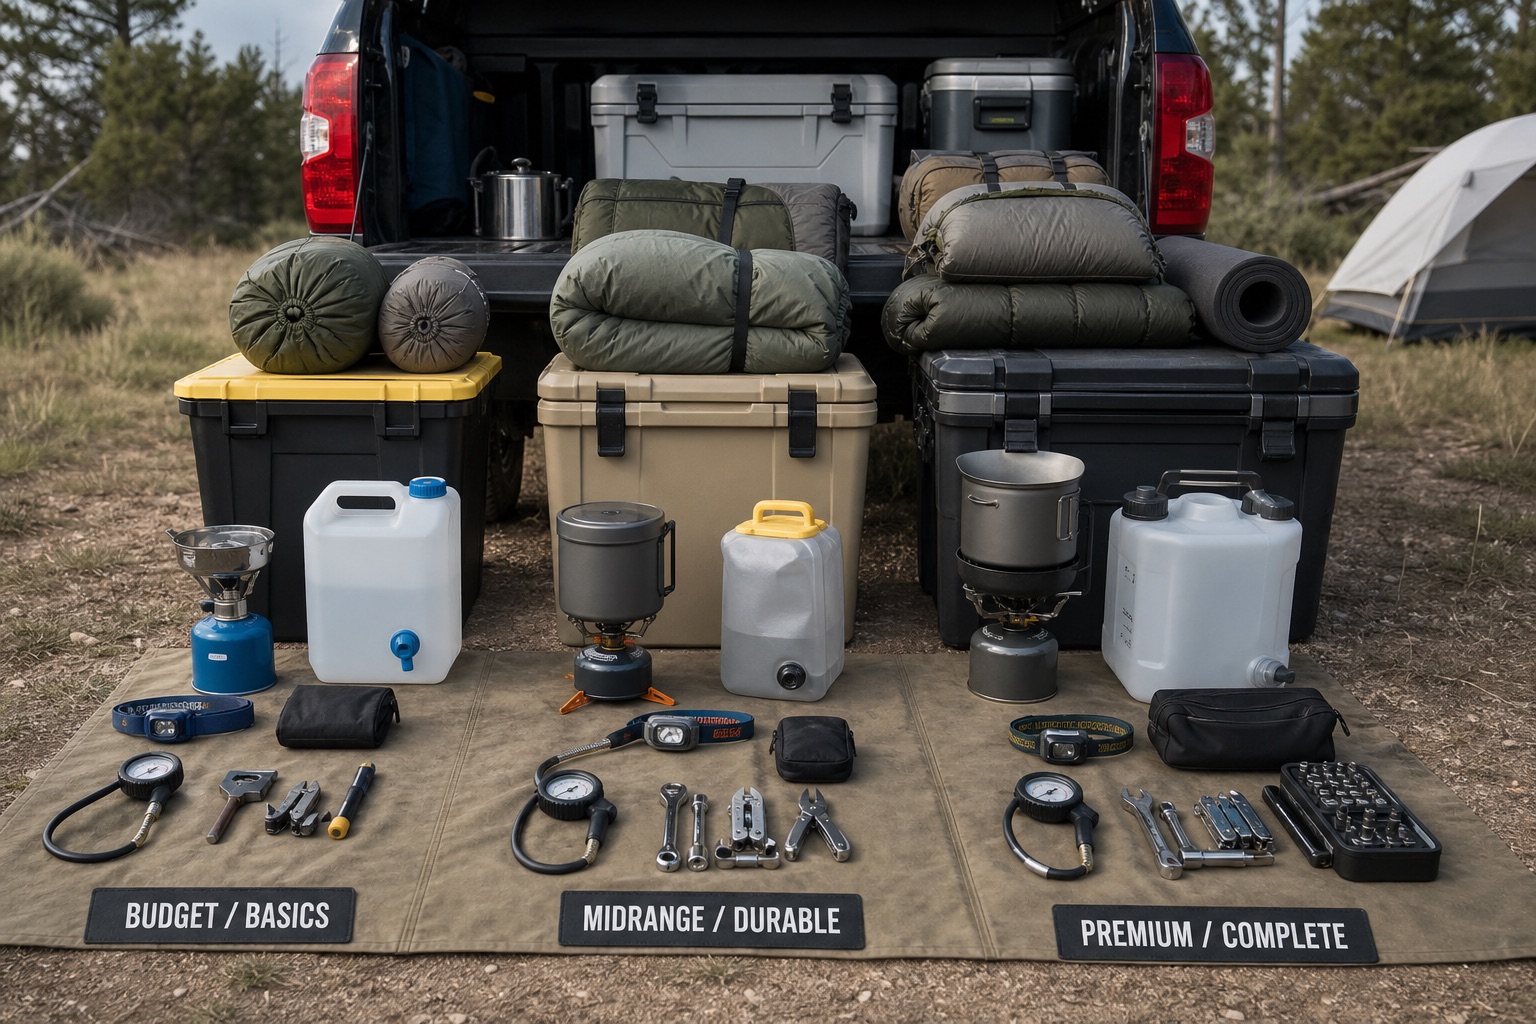
A budget kit can be sensible for ordinary items with visible condition and low replacement friction. A simple gauge, gloves, and a shovel do not need luxury finishes to be useful. The better question is whether each item is accurate enough, fits the vehicle, and can survive the storage conditions it will face.
Midrange equipment is the practical default for a compressor, traction tools, and a durable storage bag when they travel often. Pay for clear instructions, compatible connections, service support, and honest operating limits. Premium equipment makes more sense when frequent remote travel, difficult conditions, or repeated use exposes a real weakness. Skip an expensive high force kit when training, vehicle guidance, communication, or basic tire readiness is still missing.
- Budget for simple tools with easy inspection and low consequence failure.
- Use midrange as the default when reliability and support improve repeated use.
- Pay more only when the trip pattern creates a specific and verified need.
Match the kit to the trip
A graded road near services calls for a different plan than a remote route with deep sand, snow, or long gaps between travelers. Note the surface, weather, traffic, cell coverage, group size, and distance to assistance. Then decide which likely problems you can address without exceeding your training. The recovery kit should support that route decision, not justify taking a route that already feels beyond the vehicle or driver.
Traveling with another vehicle can improve communication and options, but it does not make improvised pulling safe. Before departure, agree on when the group will turn around and how it will request help. For a solo weekend, a conservative route, reliable navigation, and a communication backup may reduce risk more than another heavy item in the recovery bag.
- Check current road, weather, and land manager information.
- Tell a trusted contact the route and return window.
- Keep recovery gear available without unloading the entire camp.
- Turn around before terrain exceeds the driver, vehicle, or equipment plan.
Inspect the system before departure
Lay out the complete kit and identify the job, instructions, storage location, and condition of every item. Confirm that tire tools match the current wheels and that the compressor connection reaches its intended power source. Check the spare, read the manuals, and remove mystery hardware that lacks a known purpose or documented limit.
Pack the kit as one accessible system, while separating dirty or sharp tools from sleep and kitchen equipment. Recheck it after a trip that involved water, mud, heavy dust, or any equipment use. The best beginner kit is not the largest. It is the one you understand, can reach, can inspect, and are willing to leave unused when the situation is outside its limits.
- Inspect condition before the trip and after every use.
- Keep current instructions with unfamiliar equipment.
- Practice only in a controlled setting that matches formal training and product guidance.
- Write down the clear stop conditions before the trail makes the decision harder.