Bottom line
Choose from the inflation job backward. Match the actual tire, pressure change, number of tires, power connection, reach, and acceptable cooling pauses before paying for speed or a permanent installation.
Define the inflation job first
A compressor that looks powerful on a product page can still be a poor match for your truck. Begin with the tire size that is actually on the vehicle, the pressure you expect to restore before returning to pavement, the number of tires in the job, and how long you are willing to wait. Add the trailer only if the same compressor must serve it. This turns shopping into a defined task instead of a contest between large maximum pressure numbers.
Write down where the compressor will live and how often it will be used. A compact portable unit can suit occasional weekends and more than one vehicle. A faster and heavier system may earn its space when large tires need repeated inflation. Skip extra capacity when it creates a storage or power problem larger than the wait it solves.
- Record the exact tire size on every vehicle the compressor must serve.
- Estimate the normal pressure change without treating it as a universal trail setting.
- Count all tires that may need air in one session.
- Choose an acceptable total wait and cooling plan.
Compare airflow at a useful pressure
Airflow is the most useful starting performance figure only when its test condition is clear. A free flow figure measured at zero pressure describes a different job from airflow measured while the compressor is pushing against tire pressure. The current ARB specification sheet publishes both no load airflow and airflow under a 29 psi load. Those values change, which is why two numbers measured under different conditions are not a fair speed comparison.
Shortlist models using airflow reported at the same or a similar pressure. Then look for a manufacturer inflation chart that uses a tire size and start and finish pressure close to your job. Treat that chart as a planning reference, not a promise. Tire volume, temperature, voltage, hose setup, altitude, and the measuring method can change the result. Skip a model when the maker provides only a dramatic maximum pressure figure and no useful flow or inflation context.
- Prefer loaded airflow over free flow when both are available.
- Compare like units and the same stated pressure.
- Use inflation charts only when the tire and pressure change are relevant.
- Leave margin instead of shopping to the edge of a rating.
Read duty cycle with its condition
Duty cycle describes how long a compressor can run within a stated period and condition before it needs a cooling pause. The percentage alone is incomplete. VIAIR currently lists portable models with duty cycle ratings stated at different pressures, including 30, 50, and 100 psi. A higher percentage measured under one condition cannot be assumed better than another percentage measured under a different condition.
Estimate whether one complete inflation session fits inside the allowed run time. If it does not, plan the cooling pause before the trip rather than discovering it beside the road. Continuous duty can reduce interruptions, but it may come with lower airflow, more weight, or more cost. Occasional users with modest tires may be better served by a lighter unit and a deliberate pause. Frequent users should skip a short duty cycle when every normal session would exceed it.
- Record the duty cycle percentage and its stated pressure.
- Find the maker definition for the full time window.
- Compare expected run time with the allowed on time.
- Follow the operating manual for cooling and heat warnings.
Match the electrical path
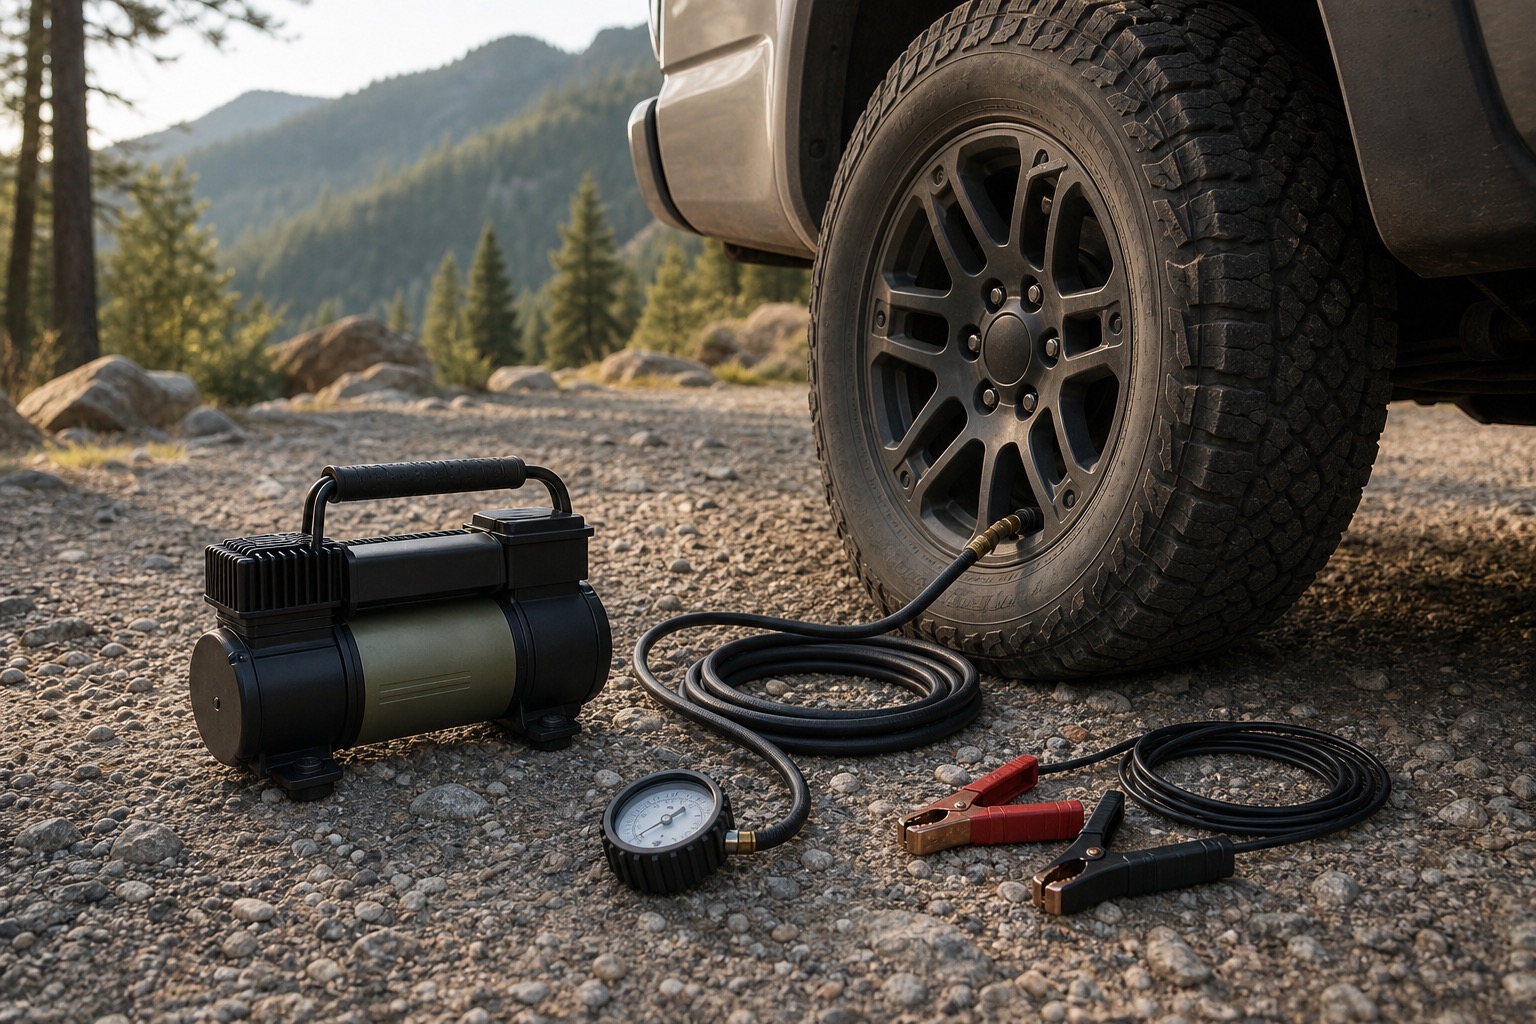
Current draw and connection method decide whether the compressor belongs on your vehicle. The current manufacturer tables show that portable inflators span different maximum current demands and may use an accessory outlet or battery clamps. A unit that exceeds the outlet and fuse rating is not made compatible by changing the plug. Follow the vehicle and compressor instructions for the approved connection, engine state, cable placement, and fuse protection.
Battery clamps can support higher current, but they require safe access to the battery and careful cable routing. An accessory outlet is convenient only when every rating agrees. A mounted system adds wiring, switching, protection, and installation decisions that should be designed for the exact vehicle. Skip a compressor when its required connection is unclear or when the cables cannot reach without resting near heat, moving parts, or traffic.
- Compare compressor voltage and maximum current with the approved vehicle circuit.
- Confirm the required fuse and connection in the current manual.
- Check cable length with the vehicle parked in a safe working position.
- Do not improvise adapters to bypass a circuit limit.
Check reach and real workflow
A complete air path must reach every valve while the compressor sits on stable ground or in its approved mounted position. Measure from the power connection to the compressor and from the compressor to the farthest tire. Include a trailer if it is part of the job. Extra hose can improve reach, but it also adds bulk, fittings, leak points, and pressure loss. A multi tire hose can reduce walking and repeated connections, but it takes more room and more care to pack cleanly.
The gauge should be readable and suitable for the pressure range you use. A clip on chuck frees your hands, while a hold on chuck gives direct control. Either can work when it seals reliably and matches the workflow. Keep the hose away from the compressor head, exhaust parts, sharp edges, and travel lanes. Skip an elaborate manifold when airing one vehicle occasionally, and skip a short basic hose when it forces unsafe compressor placement.
- Measure the farthest valve rather than trusting a hose label.
- Choose a chuck that can be attached and removed cleanly.
- Carry a separate readable gauge for final checks.
- Pack hot parts only after the manual says they are cool.
Choose portable or mounted packaging
Portable compressors move between vehicles, need no permanent installation, and can be stored away from weather and theft. Their case, clamps, hose, and accessories consume cargo space, and setup repeats at every stop. They are the practical default for changing vehicles, infrequent trail use, and anyone still learning what speed and reach matter.
Mounted air is quicker to access and can support a tidy fixed hose route. It also commits space, wiring, mounting hardware, weather protection, and service access to one vehicle. Installation quality becomes part of reliability. A mounted system makes sense after repeated trips prove the need and the vehicle has a safe location. Skip it when payload and cargo layouts are still changing or when the compressor needs to serve several vehicles.
- Choose portable for flexibility and a smaller commitment.
- Choose mounted for repeated use after fit and wiring are solved.
- Count the full case or installation weight and volume.
- Protect either setup from dust, water, heat, and impact as its manual requires.
Build the shortlist and verify pressure
Put each candidate on one worksheet with tire size guidance, loaded airflow at a stated pressure, duty cycle and test condition, maximum current, connection method, hose reach, dimensions, weight, protection features, warranty support, and available replacement parts. Remove any candidate that fails an essential fit check. Only then compare price. This keeps a low price from hiding an unusable electrical connection and keeps premium features from outranking the actual inflation job.
Before driving on pavement, use the road pressure specified for the exact vehicle and load. NHTSA directs drivers to the Tire and Loading Information Label or owner manual for the vehicle manufacturer recommended cold pressure and advises checking every tire, including the spare, when cold. Trail pressure depends on equipment, load, terrain, speed, and current guidance, so this guide does not prescribe one. The broader recovery guide can help place the compressor beside tire repair, traction, training, and clear recovery limits.
- Eliminate candidates that fail tire, runtime, electrical, or reach requirements.
- Compare remaining options by total workflow and support.
- Practice the complete setup somewhere safe before a remote trip.
- Return to the vehicle specified road pressure and verify every tire.