Bottom line
Choose the simplest deflation method that fits your trip frequency and tolerance for repeated checks. Treat the gauge as a separate decision, then pair both tools with a compressor and a deliberate return to vehicle specified road pressure.
Separate air release from measurement
A tire deflator and a pressure gauge solve related but different jobs. The deflator controls how air leaves the tire. The gauge tells you where the pressure has settled. A tool that releases air quickly is not automatically easier to measure with, and a precise looking display does not make the release process quicker. Choose each part for its own job before deciding whether an integrated tool is convenient.
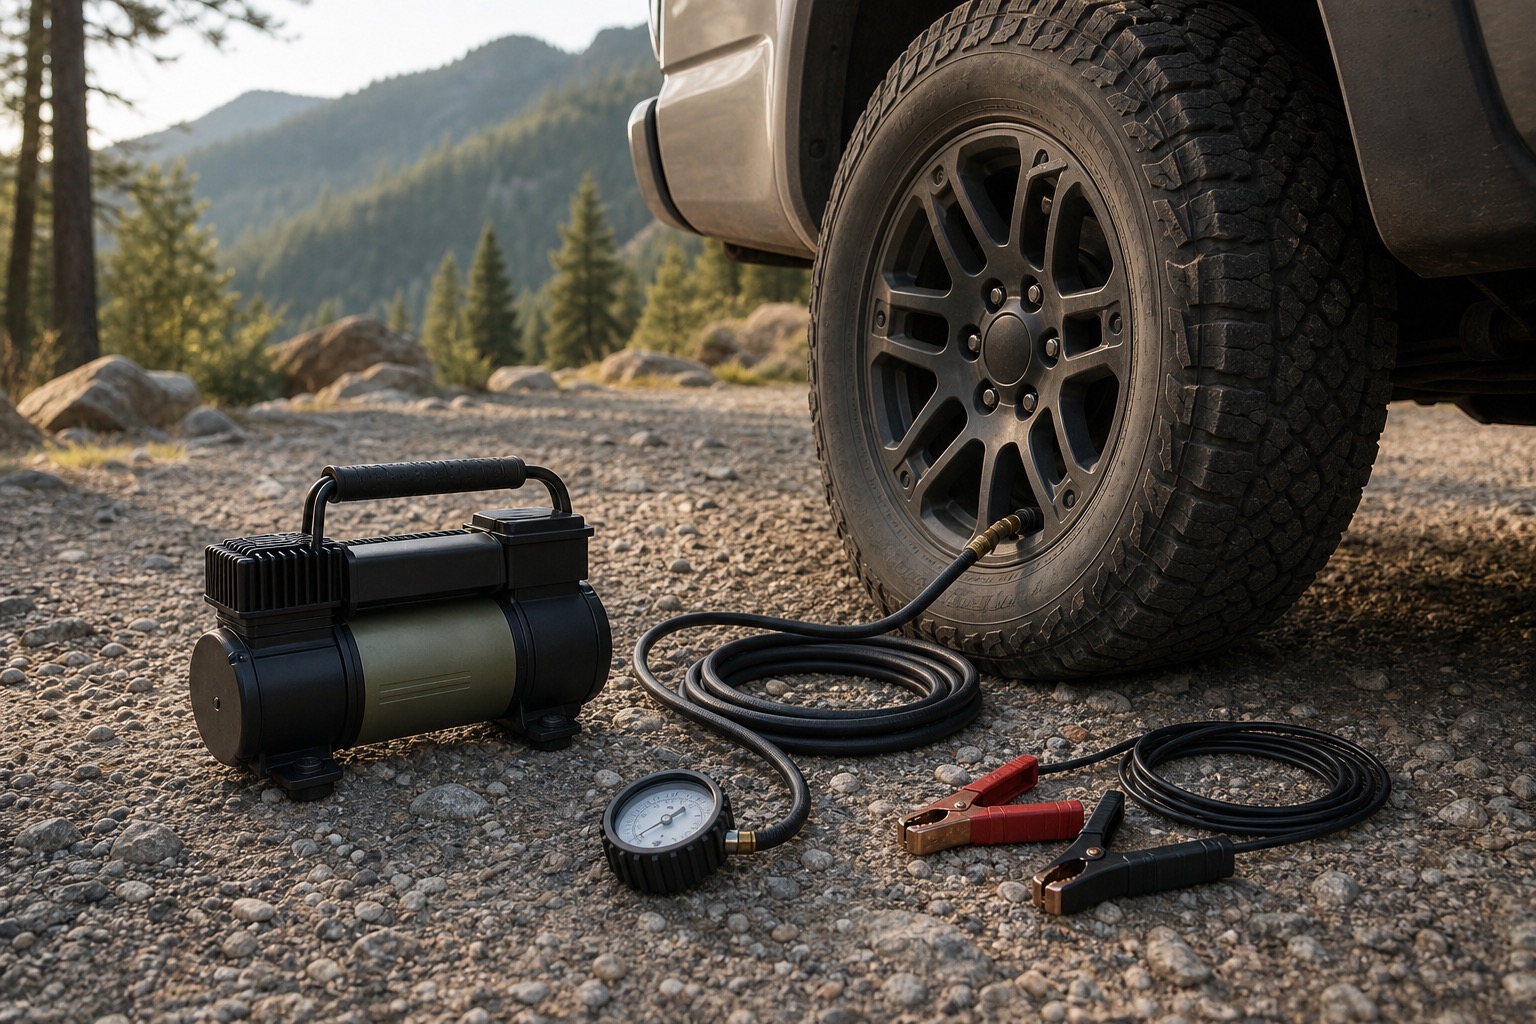
Start with the routine you can repeat at every tire. Count the tires, note how often you expect to adjust them, decide how many times you are willing to stop and check, and include the time needed to put every valve cap and tool away. Then confirm that your compressor, hose, and power connection can restore the pressure before ordinary road travel. The compressor guide covers that reinflation system in detail.
- Define how many tires the normal session includes.
- Choose how much repeated checking feels manageable.
- Keep the gauge readable in the conditions where you travel.
- Do not air down without a working reinflation plan.
Choose a manual method for direct control
The simplest approach presses the valve stem to release air, then removes the tool so a separate gauge can check the result. It is easy to understand, compact, and suited to occasional adjustments. Its main cost is attention. You move from tire to tire, repeat the release and check cycle, and keep track of which tire needs another small change.
An integrated manual deflator combines air release and a gauge in one body. That can reduce tool swapping, but the operating sequence still matters. Follow the current instructions for the exact tool, especially whether the reading is taken while air is moving or after the control is closed. Choose this format when direct control matters more than maximum speed. Skip it when four repeated sessions already feel like the part of the routine you want to simplify.
- Prefer a separate gauge when you want a simple measurement reference.
- Prefer an integrated control when fewer tool changes improve the routine.
- Check valve fit and the exact operating sequence before the trip.
- Store valve caps where they cannot disappear in gravel or dust.
Use valve core removal only with a deliberate process
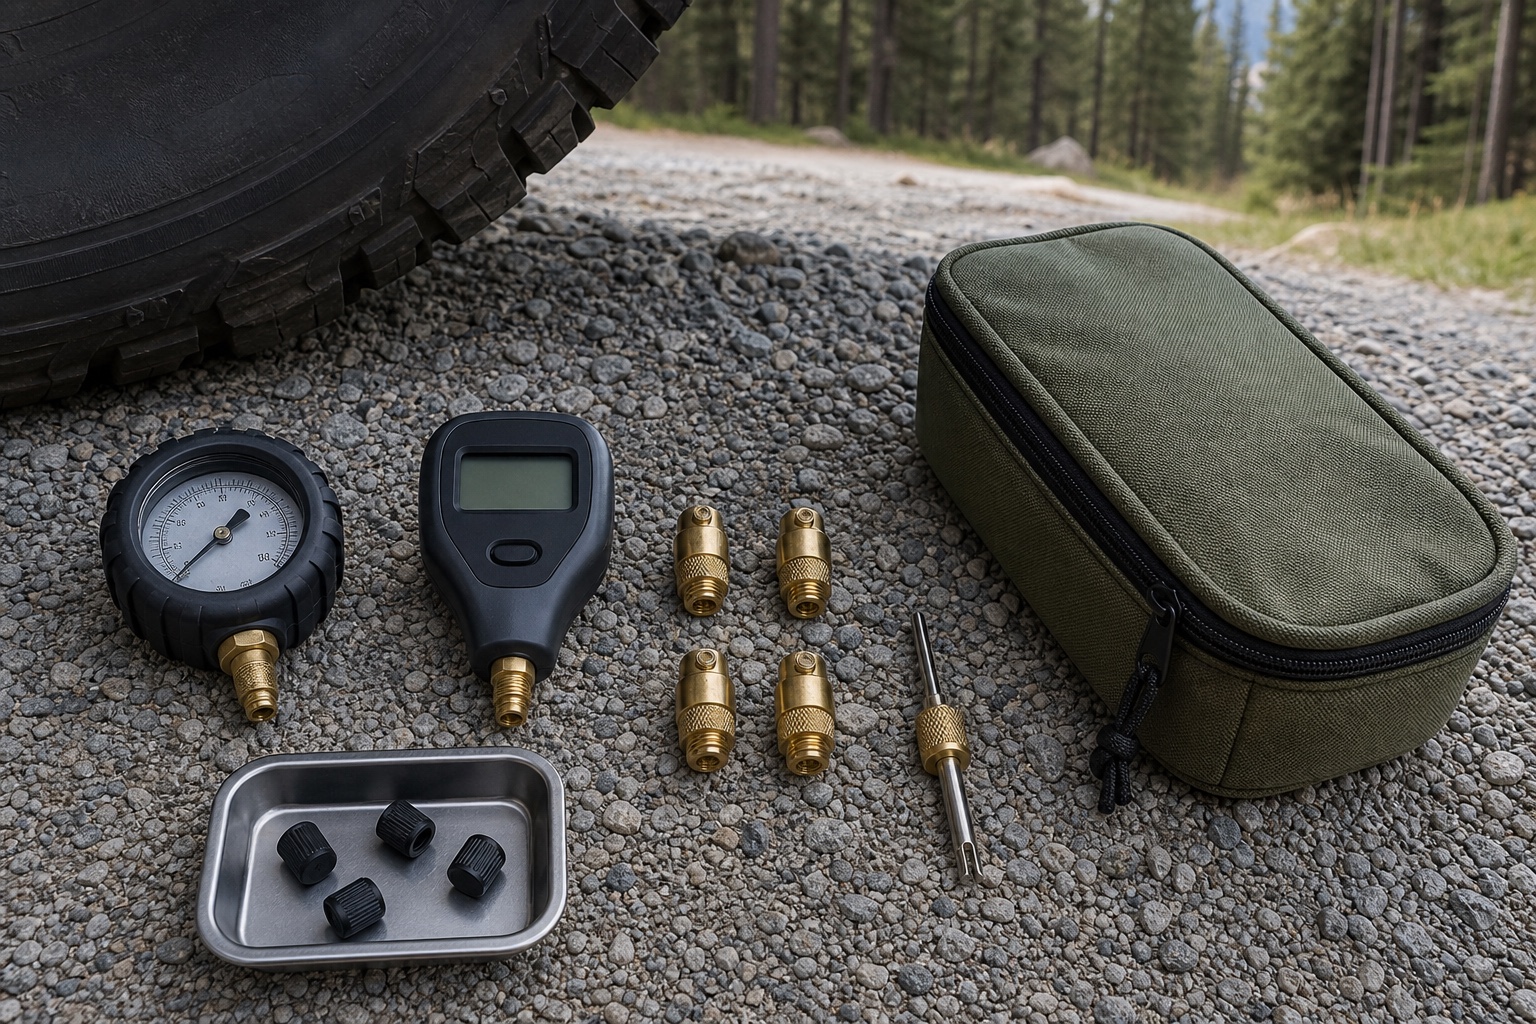
A valve core removal deflator opens a larger air path by temporarily withdrawing the valve core while the tool remains connected. ARB currently describes this design on its E Z Deflator, which uses a sliding valve to move between deflation and pressure reading. That is one documented mechanism example, not a product ranking or a promise about performance in your hands.
The tradeoff is that the valve core becomes part of the procedure. The tool must engage it correctly, keep it controlled, and return it according to the maker instructions. Practice in a safe setting where a mistake does not interrupt a remote trip. Carry the compatible service items recommended for your valves, but avoid turning an unfamiliar repair into the plan. Skip this method when you value the fewest steps more than faster air release or when the valve setup is uncertain.
- Verify compatibility with the installed valve stems.
- Read the removal and reinsertion sequence before use.
- Practice while ordinary roadside help remains available.
- Stop if the core does not move or reseat as the instructions describe.
Treat presets and multi tire systems as workflow upgrades
Preset deflators are intended to reduce repeated attention by releasing air toward an adjusted or fixed setting. Their value depends on repeatability, clear setup, a suitable working range, and a way to verify the result with a gauge. They can suit frequent users who return to a known vehicle and tire setup. They are a weaker match when loads, tires, terrain, or trip plans change often, or when the setting is hard to confirm.
A multi tire hose system connects several tires so the process can be managed from fewer connection points and, depending on the design, pressures can move toward balance. It adds hose length, fittings, packing volume, setup, and more surfaces to keep clean. Pay for that complexity when repeated sessions make the time and walking meaningful. Skip it for occasional use when one compact tool and a clear tire by tire sequence already work well.
- Verify every preset result with a suitable gauge.
- Confirm the adjustment range and setup instructions before relying on a preset.
- Inspect multi tire hoses and fittings before every session.
- Choose fewer parts when the larger system would stay buried in storage.
Choose the gauge around the working routine
Gauge format matters less than a readable range, a clean valve connection, clear instructions, and a design you will actually carry. An analogue dial works without a battery and makes pressure movement easy to see. A digital display can be quick to read and may offer more than one unit, but it adds a battery and electronic controls. A pencil style gauge is compact and simple, though its scale may be harder to read in poor light. None of these formats proves accuracy by appearance alone.
Look for a useful scale around the pressures you will measure rather than a dramatic maximum. Check the maker statement for accuracy, resolution, calibration guidance, temperature limits, battery needs, and valve compatibility. A one unit display can reduce confusion when your vehicle guidance and other tools use the same unit. If two gauges disagree, do not average them by habit. Follow their verification guidance or use a qualified tire service professional before relying on the uncertain reading.
- Match the displayed range to the pressures you actually check.
- Confirm the units before changing any tire.
- Carry a spare battery when the tool requires one.
- Protect the gauge from impact, moisture, and loose cargo.
Build a settled check into every tire
Use the same order at all four tires. Park where you can work away from traffic and where the vehicle is stable. Inspect the tire and valve, connect the tool cleanly, release air in controlled steps, then take the reading exactly as the tool instructions require. When the method permits, close or stop the airflow before the final check so the result is not confused with an in process indication. Recheck after a short pause when the instructions or your routine call for it.
Pressure can change with temperature, and the proper trail choice depends on the exact tire, wheel, load, terrain, speed, and current guidance. That is why this guide does not publish one trail number. Record the setting used with the conditions and vehicle load, then treat the note as trip history rather than a rule. Turn around or keep the vehicle on suitable roads when you cannot establish a pressure plan with enough margin.
- Use one tire order so none is missed.
- Count each valve cap before driving away.
- Write down the setting and the conditions that informed it.
- Inspect the tires again when the terrain or handling changes.
Finish with vehicle specified road pressure
The air down routine is incomplete until the tires are ready for ordinary road travel. NHTSA directs drivers to the vehicle Tire and Loading Information Label or the owner manual for the manufacturer recommended cold pressure. It also recommends checking every tire, including the spare, when cold and keeping a gauge in the vehicle. The number molded on a tire sidewall is not a substitute for the vehicle pressure guidance.
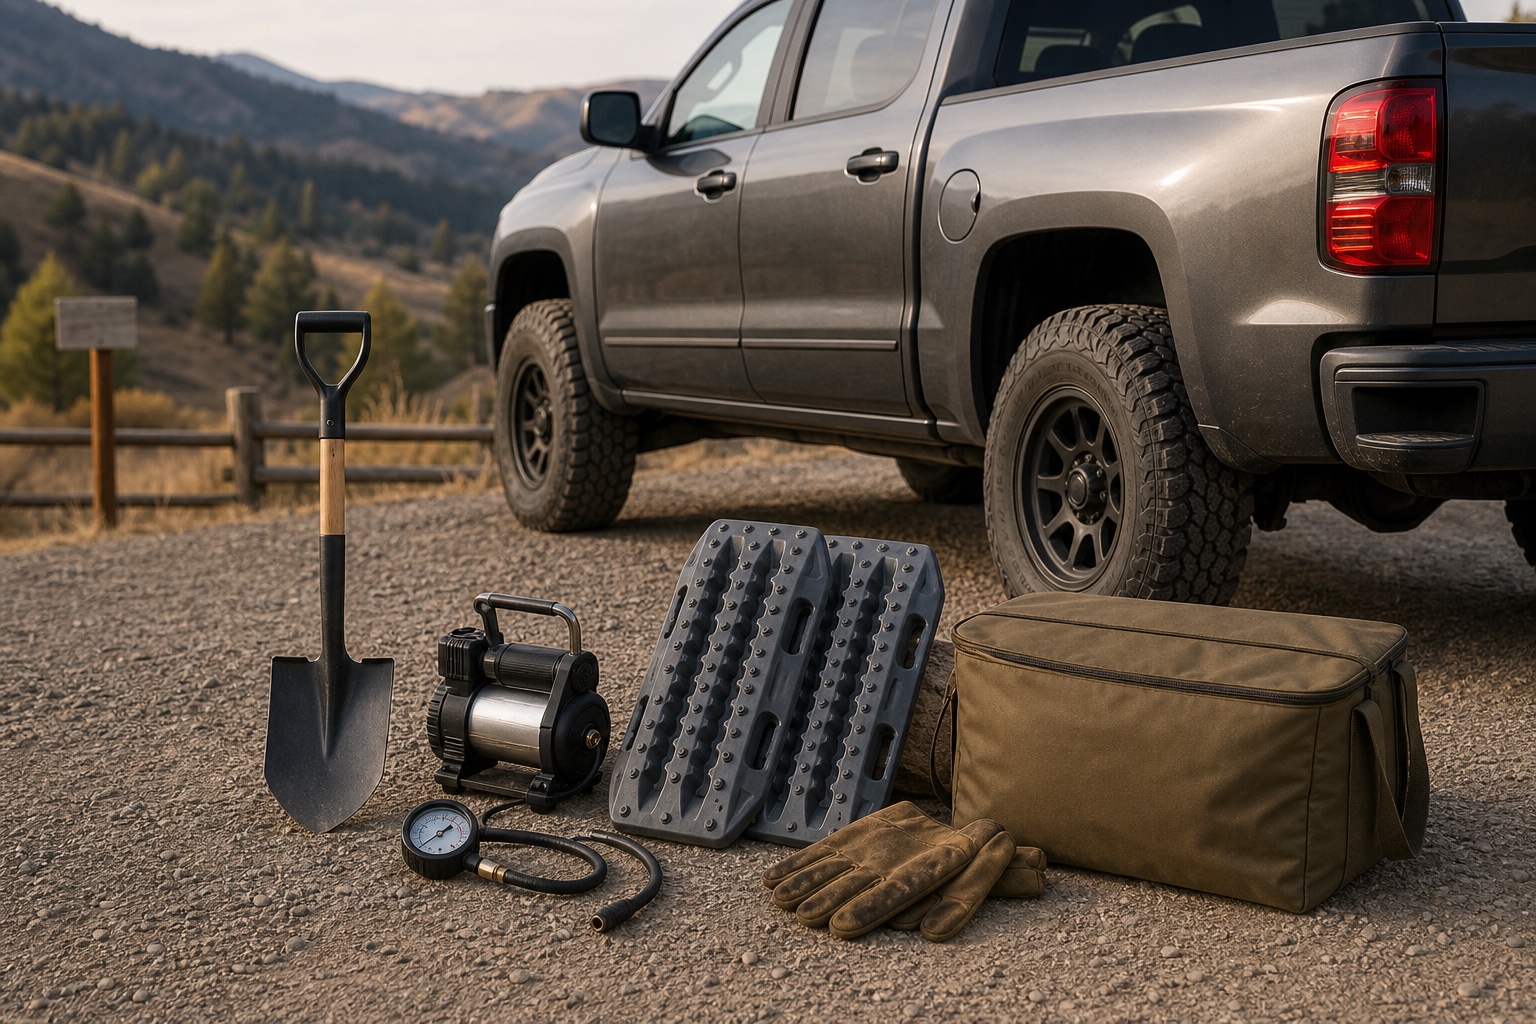
Use the compressor system to restore pressure before returning to normal road speed, then check every tire with the selected gauge. Because a recently driven or inflated tire may not provide the final cold reference, follow the vehicle guidance and verify again when the tires are cold. Keep the deflator, gauge, valve caps, and compressor accessories together so the next trip begins with a complete system. The recovery gear guide explains how tire readiness fits beside traction, repair, training, and clear limits.
- Restore pressure before ordinary road travel.
- Use the vehicle label or owner manual as the road pressure source.
- Check all tires and the spare on the regular cold schedule.
- Replace or service any tool that cannot provide a trustworthy reading.