Bottom line
Treat a standardized temperature label as a comparison tool, not a promise. Start with the comfort value, then judge the complete sleep system against the forecast, your own warmth needs, and a conservative backup plan.
Read the whole temperature label
A bold temperature on a sleeping bag tag can look like a simple answer, but it may identify a limit rather than the point where you are likely to rest comfortably. Look for the test standard and the full set of values before comparing two bags. A standardized label gives you a shared reference. It does not promise that every camper will feel the same at the printed temperature.
ISO 23537 Part 1 covers test methods and labeling provisions for adult sleeping bags used in sports and leisure activities at limit temperatures of minus 20 degrees Celsius and higher. Its scope excludes children, babies, military use, and extreme climate expeditions. This guide stays within that ordinary adult camping scope. A bag with no stated standard or no explanation of its number is harder to compare, even if the headline rating looks warmer.
- Find the named test standard on the label or current maker documentation.
- Record the comfort value and limit value separately.
- Confirm that you are comparing adult bags with the same type of rating.
- Skip any option whose temperature claim cannot be explained clearly.
Use comfort as the practical starting point
The comfort and limit values describe different reference conditions. Cascade Designs explains them as points between temperature ranges, not one universal warmth promise. For a weekend camper who wants normal sleep rather than a survival threshold, the comfort value is the more useful place to begin a shortlist. The limit value still adds context, but it should not quietly become the target for every user.
Compare that comfort value with the lowest overnight forecast for the exact destination and dates. Then consider whether you usually sleep warm or cold, whether fatigue or damp conditions are plausible, and whether the forecast could change. There is no honest universal buffer that works for every person and sleep system. If the choice only works when every assumption is favorable, choose a more conservative plan or a milder trip.
- Start the comparison with the comfort value.
- Check the overnight low for the exact campsite and trip dates.
- Account for your own known warmth preference without turning it into a rule for others.
- Leave a clear exit or backup when conditions could exceed the plan.
Build the bag and pad as one system
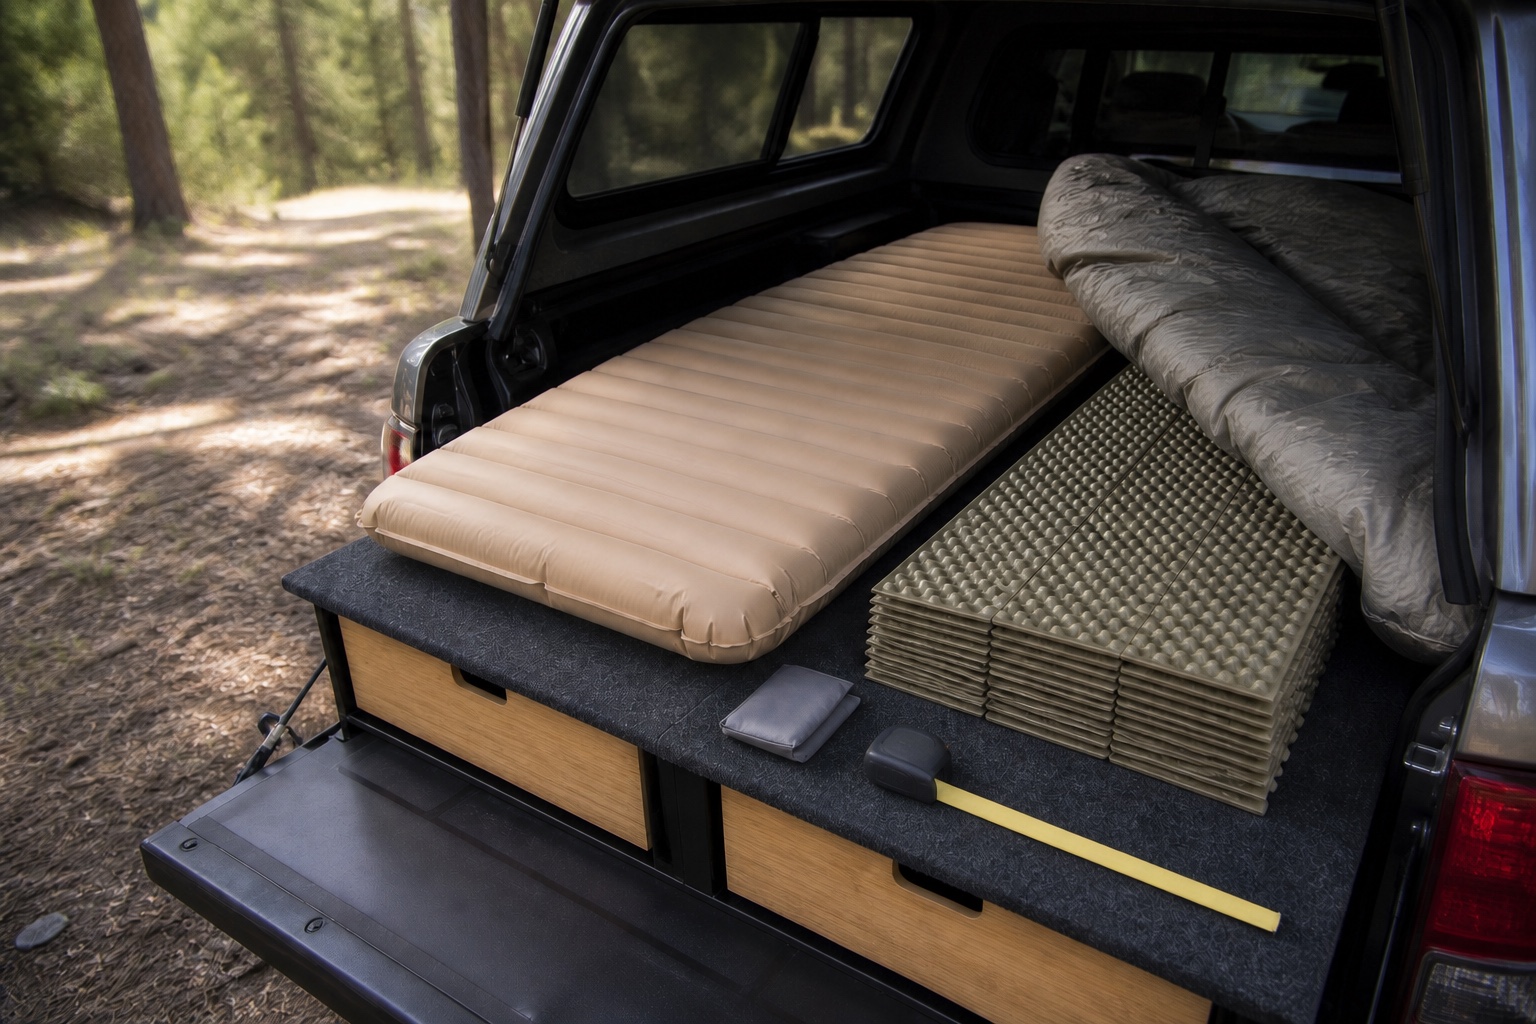
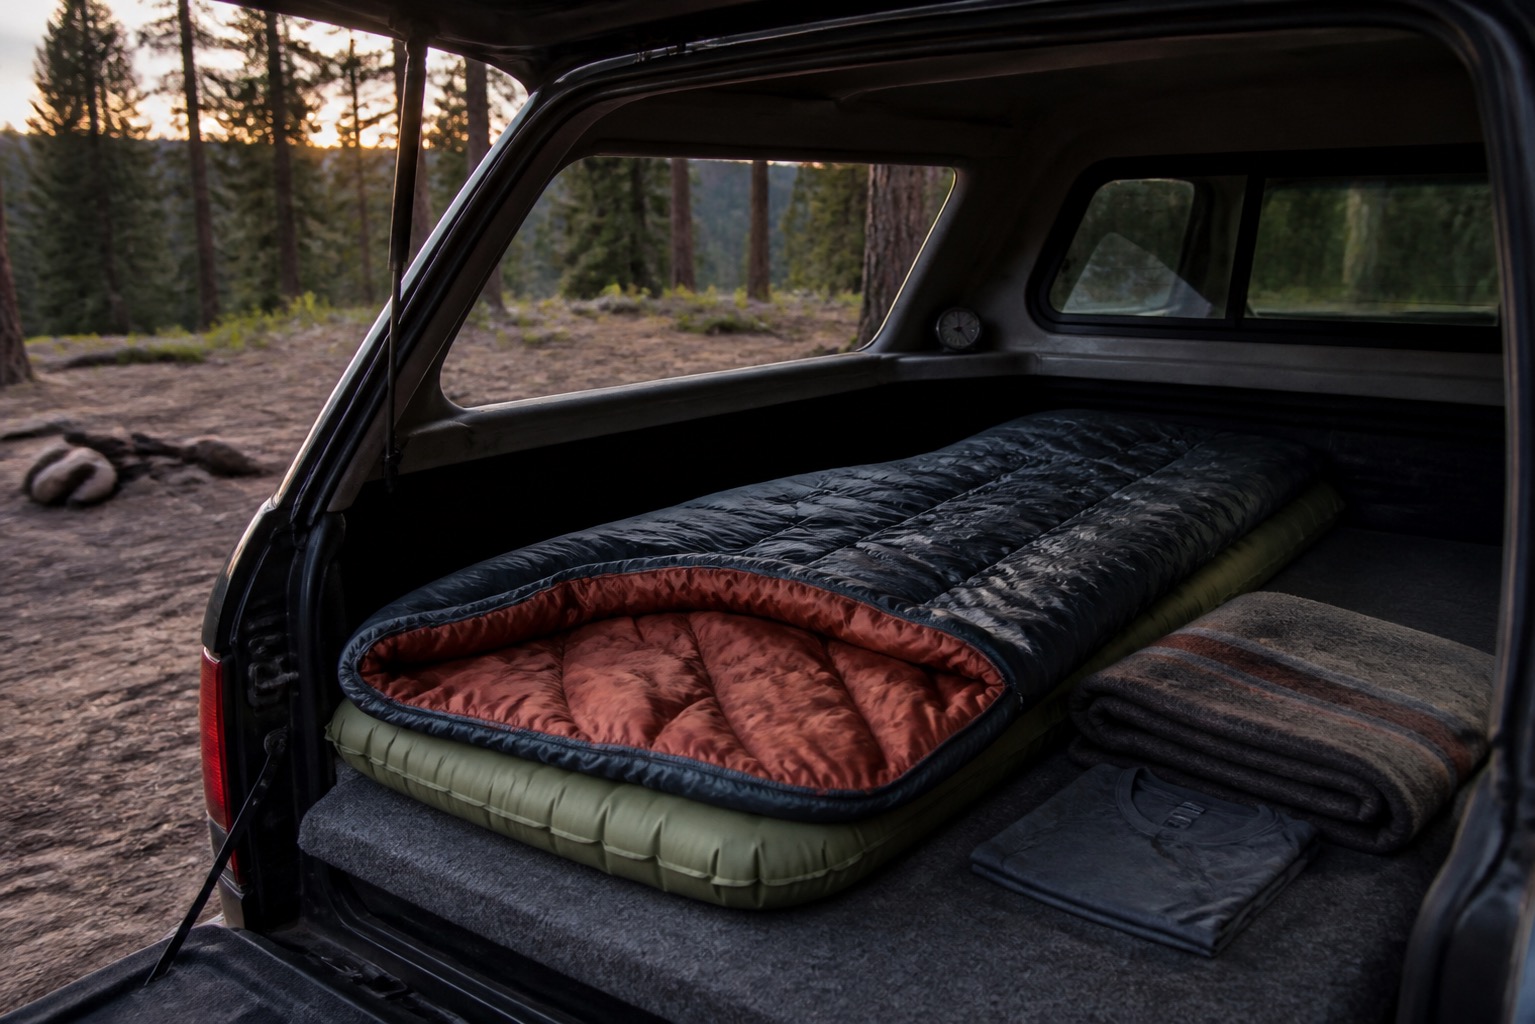
A sleeping bag cannot insulate the part compressed beneath you in the same way it insulates loft around you. The sleeping pad is therefore part of the warmth decision, not merely a comfort accessory. Cascade Designs identifies mattress warmth as a major variable in the complete system. Compare pad insulation using the current maker information and choose it for the expected surface and conditions rather than assuming the truck floor or tent platform supplies enough insulation.
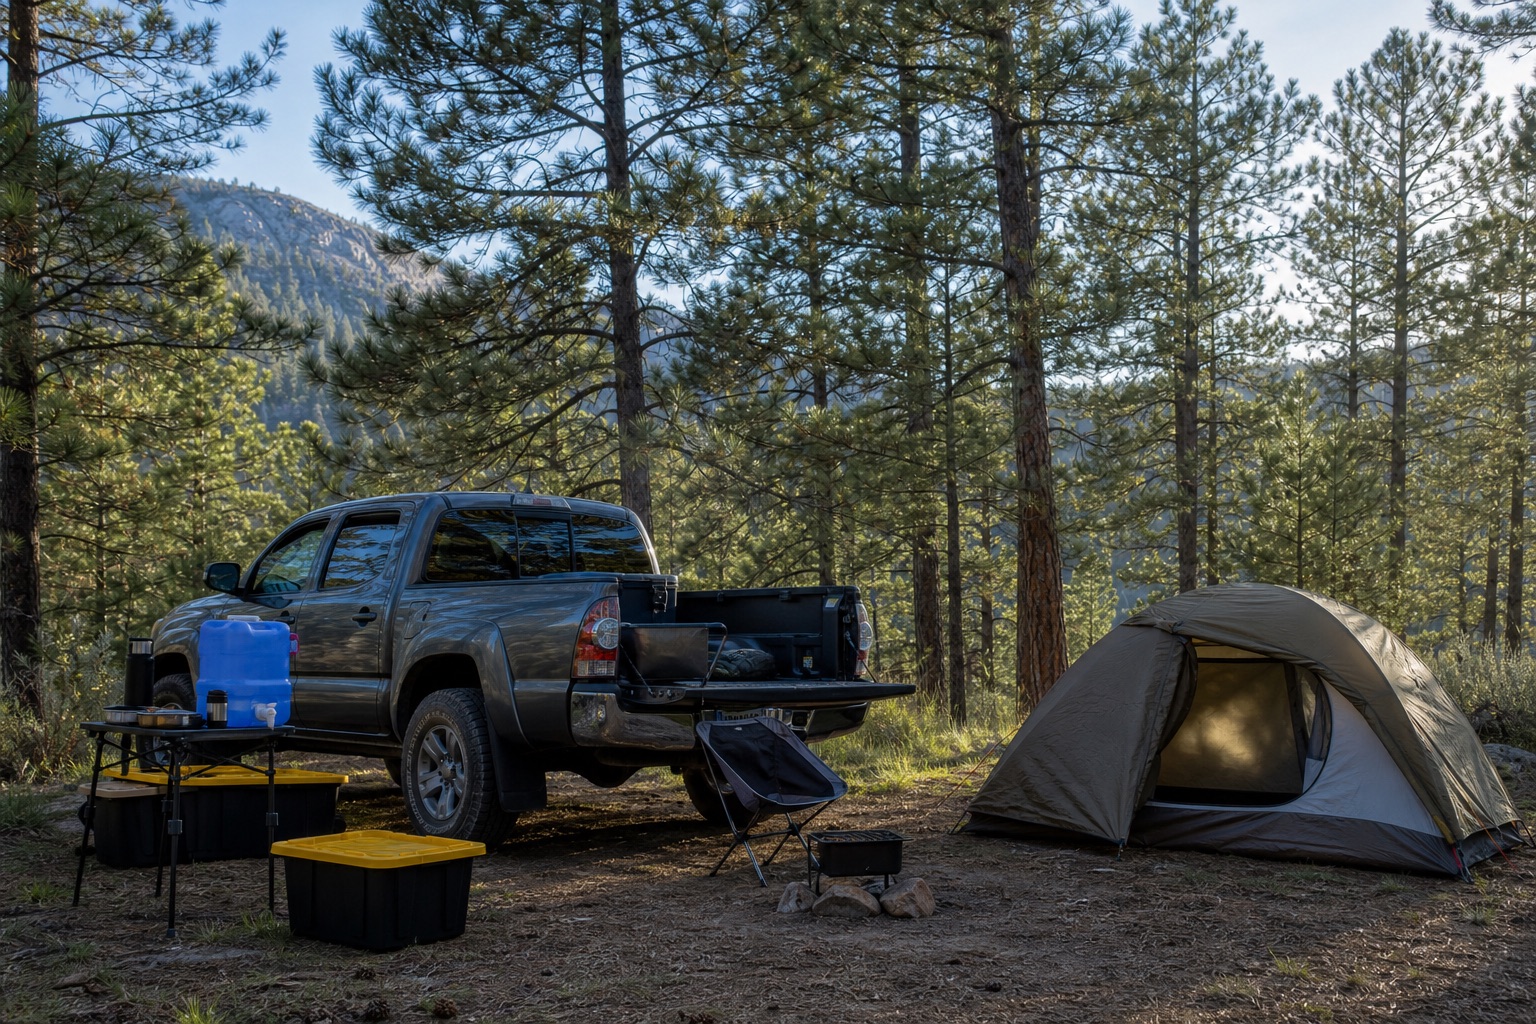
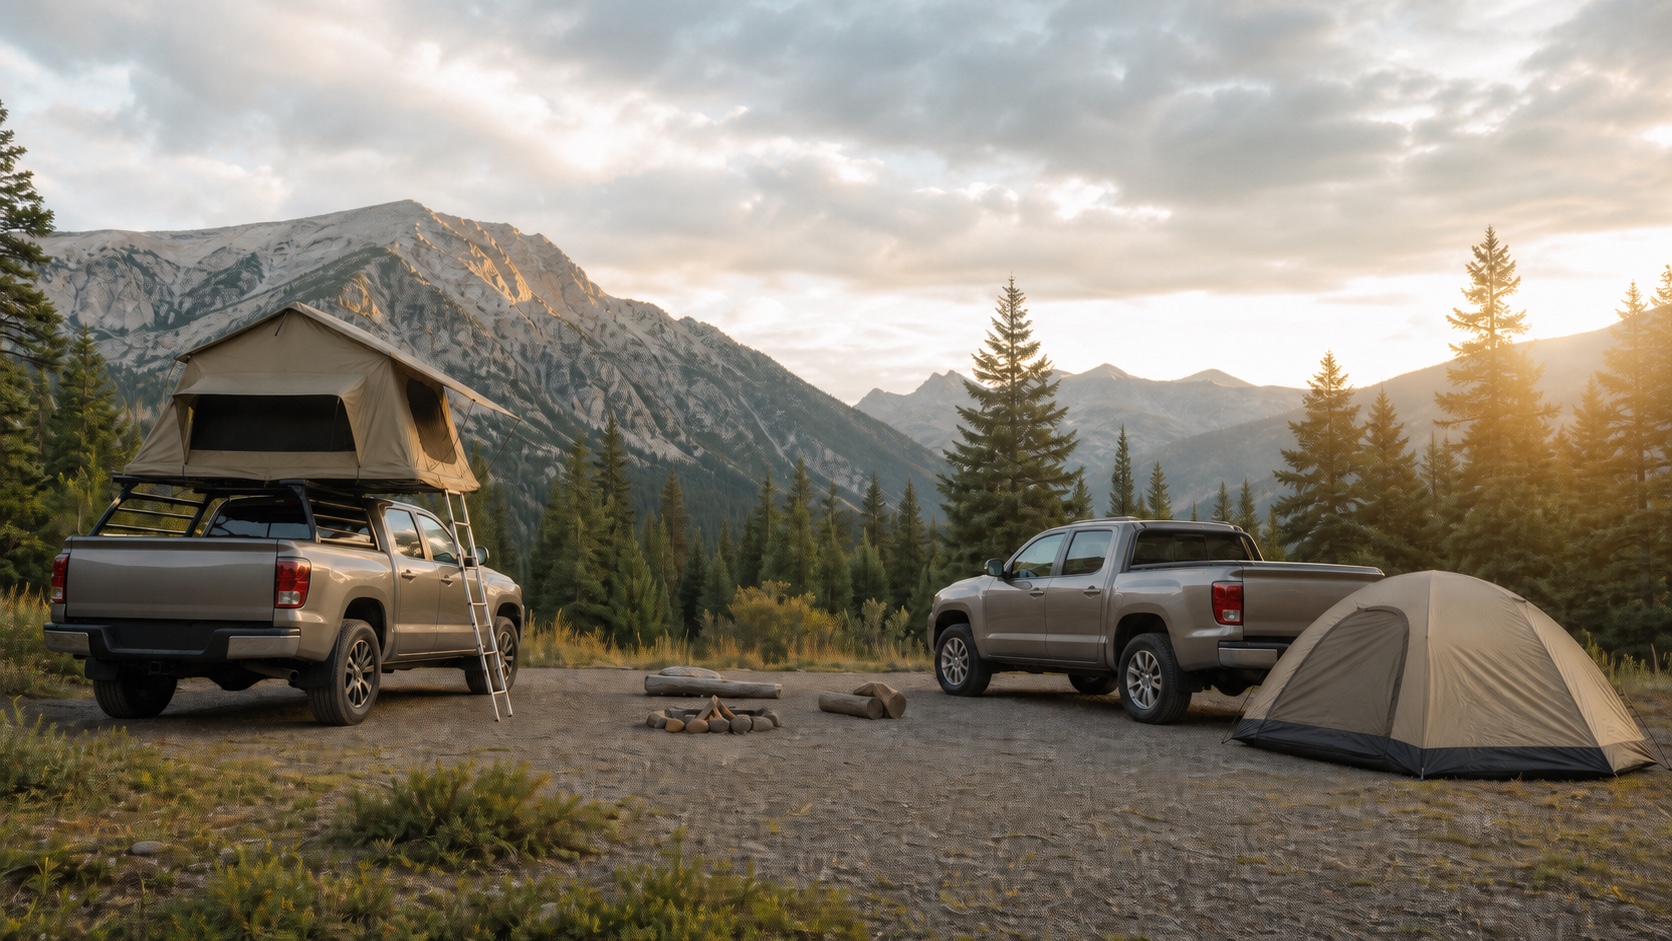
Shelter also changes the working environment. A ground tent, rooftop tent, truck bed, or enclosed cargo area can differ in airflow, exposure, condensation, and the surface below the pad. None turns an ordinary bag into a guaranteed cold weather system. Use the shelter comparison guide for format tradeoffs, then evaluate the pad and bag together in the actual layout. Keep ventilation appropriate and never use an unsafe flame or unapproved heater to rescue an inadequate sleep plan.
- Verify the pad insulation and condition before the trip.
- Test that the pad and bag fit the sleeping platform without gaps or compression.
- Keep sleep clothing dry and separate from wet daytime layers.
- Treat shelter, pad, bag, and clothing as one plan.
Choose fit before extra features
Bag fit changes both comfort and thermal performance. Too much unused room can take more body heat to warm, while a bag that is too tight can compress insulation and restrict comfortable movement. Check the current length, shoulder, hip, and foot dimensions against your body and normal sleeping position. Sit inside the bag before relying on it if a shop or rental makes that possible, but do not treat a brief fit check as proof of cold weather performance.
Vehicle camping gives you more freedom to value room and easy entry because every item does not have to ride in a backpack. A rectangular shape may suit a restless sleeper or a roomy platform, while a closer shape can reduce unused volume and packed bulk. Neither is automatically better. Skip a narrow design if it disrupts sleep, and skip a large bag if it crowds the platform, cannot be stored dry, or takes cargo space needed by essential systems.
- Check body dimensions against the current size chart.
- Make sure normal sleep movement does not crush the insulation.
- Confirm that the hood, collar, and zipper can be adjusted without confusion.
- Measure packed storage space as well as sleeping space.
Compare practical ownership tradeoffs
Once rating and fit are suitable, compare the details that affect repeated weekends. Look at packed volume, total weight, zipper access, venting options, care instructions, drying needs, repair support, and how easily the bag stays protected from cargo moisture. Backpacking weight may matter little in a truck, but a bulky bag can still become a problem in a small cab or shared sleep platform.
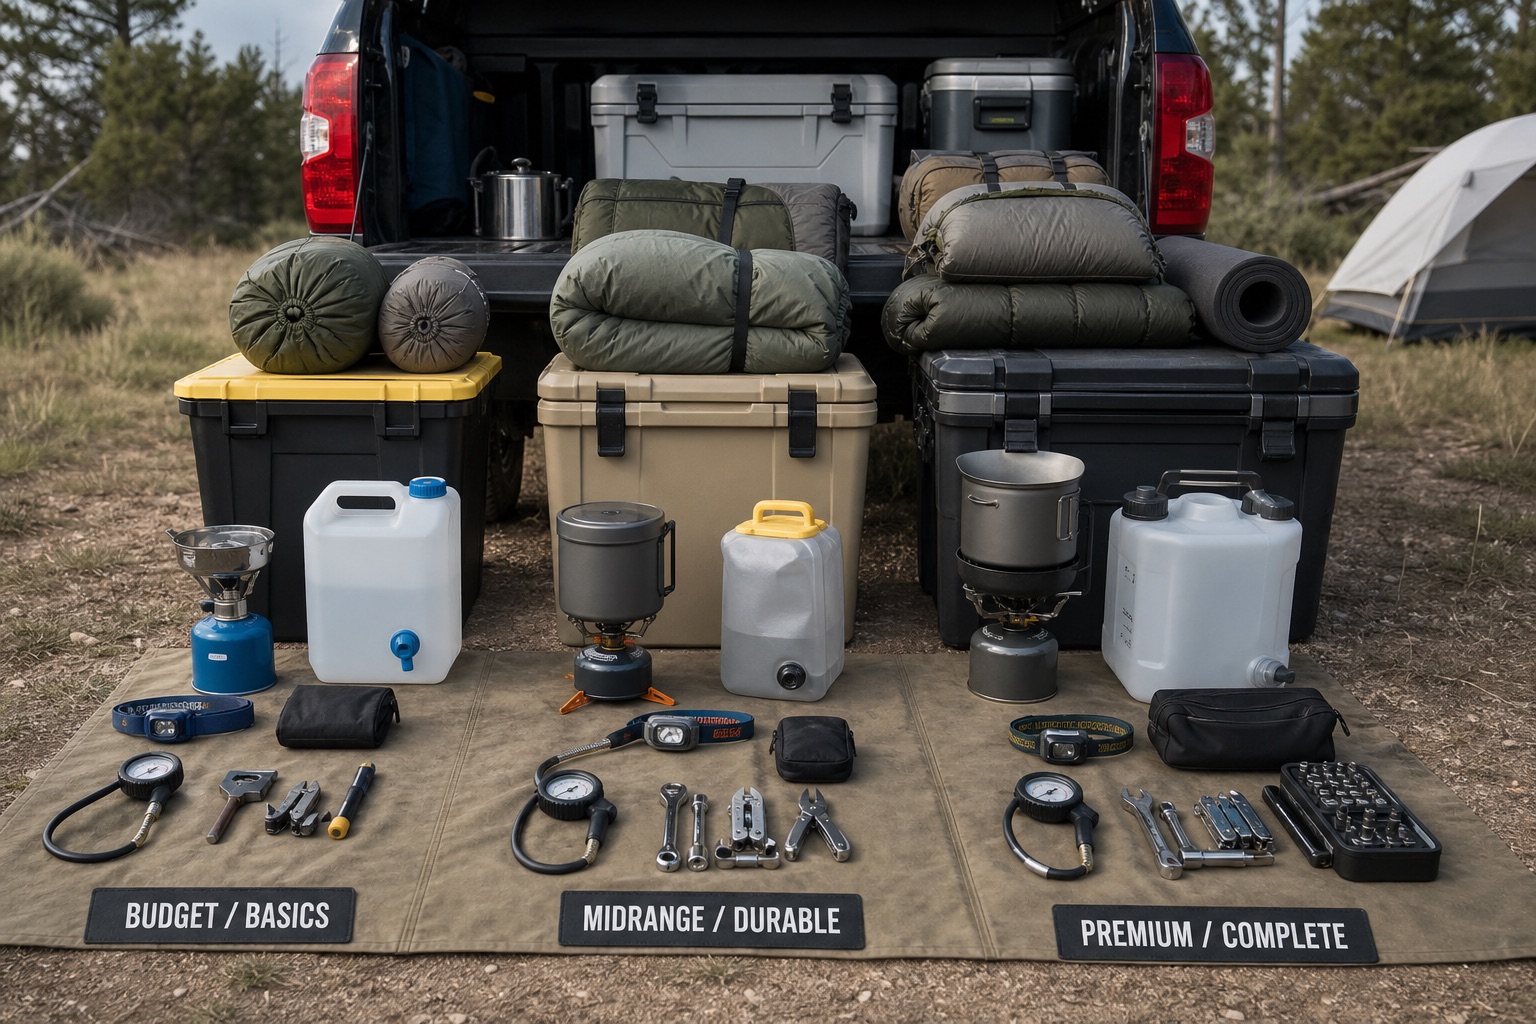
Pay more when the added cost solves a specific problem such as frequent packing, limited storage, difficult cleaning, or repeated cool weather use. A modest bag can be enough for mild trips near services when its rating, fit, and complete system all make sense. Premium materials do not replace a suitable pad or sound forecast plan. The buying strategy guide can help decide whether durability and packability earn an upgrade without turning price into a shortcut for warmth.
- Compare care instructions before choosing an insulation option.
- Plan where the bag will dry after condensation or a wet trip.
- Protect it from fuel, food spills, sharp cargo, and long term compression as directed.
- Choose serviceable features over decorative complexity.
Make the first trip easy to revise
Use the first outing to learn in conditions that leave plenty of margin. Pick a familiar campground near a straightforward exit, verify the latest forecast and local rules, and bring a dry backup layer or blanket without assigning it a fixed temperature gain. If the sleep system feels wrong during setup, change the plan before fatigue and falling temperatures narrow the choices.
After the trip, record the overnight conditions, pad, shelter, sleep clothing, bag label, and how you actually felt. That note is more useful for your next decision than assuming the printed number tells the whole story. Do not extend one comfortable night into a guarantee for colder, wetter, windier, or more remote conditions. Beginners should skip extreme cold experiments and choose a trip where turning around or moving to safer shelter remains simple.
- Inspect the bag, pad, valve, and repair items before leaving.
- Keep the sleep kit dry and accessible during packing.
- Recheck the forecast before departure and again when service allows.
- Record the system and conditions after the trip for future planning.